If you travel for a long period of time then it is essential for you to have a clear storage system for the photos you take while travelling.
Nothing is worse than suddenly losing all your images after a memorable trip because you accidentally emptied your SD card too early, because your camera suddenly crashes or worse … because you lose your camera.
Looking back on photos from an adventure is how we relive our experiences, draw on memories and share our passions with friends and family.
So keeping your photos stored for a long time is pretty ideal to say the least!
How do you ensure you are using the best way to backup photos while travelling?
Below we share 5 handy gadgets and tips with you so that from now on you can backup your photos on the run and never lose those precious moments again!
Golden rule: Make sure that you take a photo back up in several places. Never rely on just one method or device.
For example, we always have SD cards of 32 GB or 64 GB with us on the road so that we can stay store our photos in different bags, just in case one goes missing. It is also smart to put the photos on your laptop, an external hard drive or in the cloud.
5 tips to the best way to backup photos while traveling
1. My Passport Ultra 4TB: Giga backup for all the photos you’ve ever taken
Western Digital makes beautiful products that are perfect for taking a photo backup. The My Passport Ultra is an external hard drive that fits 4 TB. That means you can put (almost) endless pictures on it without having to worry about the disk becoming full.
In order to be able to use the My Passport Ultra on an Apple laptop, it will need to be formatted. This is simple to do but you can hire someone to do it for you and it won’t take long before it is ready for use.
If you don’t want to mess around with formatting there are also hard drives specifically designed for Macbooks.
If you use Windows, most of these products are pre-formatted for immediate use.
In addition to the 4TB, there are also smaller disks of the My Passport series which are also somewhat cheaper. We find it very handy to have such a large memory on the Ultra version, but if you don’t need that you can go with a 1TB version instead.
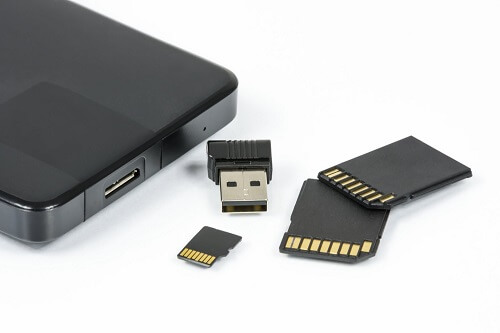
2. iXpand Base or iXpand Flashdrive: Photo backup of the photos on your phone
Do you take a lot of photos with your smartphone?
For an iPhone we recommend the iXpand flash drive from SanDisk. This drive is specially designed for ios and you can easily take a photo backup.
Moreover, you can make a backup every time you charge your phone. Mega handy!
This mini hard drive comes in different sizes in terms of memory size. For example, there is an iXpand Base of 32 GB, 64 GB, 128 GB and 256 GB.
Don’t need an entire device that you can also charge your mobile with? Would you prefer a small handy stick that you take with you wherever you go? Then the iXpand Flash Drive might be something for you.
Thanks to this mini hard drive you can quickly free up space on your iPhone or iPad. This stick also automatically backs up your photos and you can also easily put photos on the stick that you can then easily view via your iPhone or iPad.
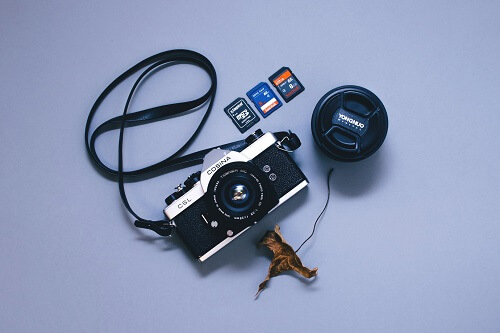
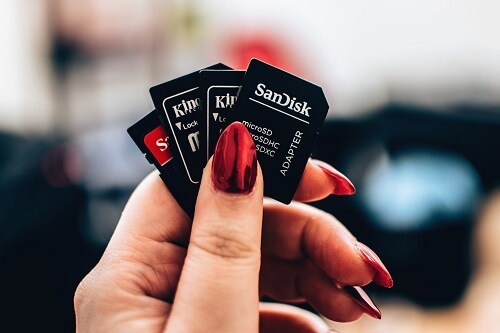
3. SanDisk Extreme 32GB or 64GB
We always have multiple SD cards with us when we are traveling. On the one hand because it is mega annoying if your card is suddenly full and then you have to keep busy with removing old photos in a very nice place.
But on the other hand also because SD cards can sometimes go wrong and as soon as that happens, you fortunately have a second card with you that you can photograph further.
The SD cards we have are from SanDisk and we usually use 32GB or 64GB.
Often we have two, and sometimes even three, but how much you need depends on how much you’re going to photograph, how long you’re traveling and how full your card is with old photos.
4. Save your photos in the cloud or on Google Drive
You can of course also save your photos online.
In the cloud or on Google Drive. The only drawback we see here is that you often need Wi-Fi and that does not always work well when traveling.
The advantage is that you can not lose a tangible product (such as an external hard disk or SD card), because everything is online and you can access it from different devices.
We do have a large proportion of our photos on Google Drive, for 2TB (2 terabytes of space, or 2000 gigabytes) you pay a fixed amount per month.
5. Put your photos on your laptop or iPad
Of course, if you have a laptop or iPad with a lot of memory, you can also put your photos on it. We often have part of our new photos on our laptop, so we can easily edit and use them for blog posts.
But after a while we get rid of them and we only put them on an external hard drive like the My Passport of 4TB and we upload a number of photos online to our Google Drive.
This way we know for sure that they can always be found somewhere in one of these two places.

Want to read more about handy gadgets & photography while traveling?